MMdetection
MMdetection은 openMMlab이라고 The CUHK Multimedia Lab에서 제공하는 Open Source Project의 프로젝트 중 하나이다.
(https://mmlab.ie.cuhk.edu.hk/)
아래 사이트에 보면 MMDetection 말고도 다른 다양한 프로젝트들을 하나의 toolbox처럼 만들어 제공한다.
OpenMMLab
openmmlab.com
소스코드는 Pytorch 기반이다.
MMdetection은 당연하게도 object detection에 관한 모델들을 제공하고 공식 깃헙 사이트는 아래와 같다.
https://github.com/open-mmlab/mmdetection
GitHub - open-mmlab/mmdetection: OpenMMLab Detection Toolbox and Benchmark
OpenMMLab Detection Toolbox and Benchmark. Contribute to open-mmlab/mmdetection development by creating an account on GitHub.
github.com
장점
그렇다면 MMdetection을 사용하는 것에 대한 장점은 무엇인가.
그들의 말에 따르면 주요 특징은 아래와 같다.
1. Modular Design
-> detection framework를 다른 요소로 분해하고 서로 결합하여 새롭게 모델 구성 가능
2. Support of multiple frameworks out of box
-> 유명하고 최신의 프레임워크 제공
3. High efficiency
-> 모든 bbox 및 mask 작업이 GPU에서 실행
-> 속도는 Detectron2, maskrcnn-benchmark 및 SimpleDet을 포함한 다른 코드베이스보다 빠르거나 비슷.
4. State of the art
-> 2018년 COCO Detection Challenge에서 우승한 MMDet 팀이 개발한 코드베이스에서 유래, 계속해서 업데이트
뭐 본인 연구에 안좋다는 얘기는 잘 안적으니 장점은 더 알아보지 말고 바로 시작해보자
설치(Linux)
윈도우와 리눅스 둘 다 사용하지만 리눅스를 선호하기 때문에 리눅스 환경에서 설치하는 방법을 정리해보자
Docker
나는 도커 컨테이너를 이용해 MMdetection을 사용할 예정이다.
우선 git clone으로 MMdetection을 다운 받는다.
git clone https://github.com/open-mmlab/mmdetection.git다음 보면 Installation과 Getting Start에 get_started.md 파일을 참고해 진행한다.

https://github.com/open-mmlab/mmdetection/blob/master/docs/get_started.md
GitHub - open-mmlab/mmdetection: OpenMMLab Detection Toolbox and Benchmark
OpenMMLab Detection Toolbox and Benchmark. Contribute to open-mmlab/mmdetection development by creating an account on GitHub.
github.com
위에 언급했듯이 나는 도커를 이용하여 진행할 것이기 때문에 위 링크에서 Docker 부분을 살펴 보았다.

Dockerfile
https://github.com/open-mmlab/mmdetection/blob/master/docker/Dockerfile
GitHub - open-mmlab/mmdetection: OpenMMLab Detection Toolbox and Benchmark
OpenMMLab Detection Toolbox and Benchmark. Contribute to open-mmlab/mmdetection development by creating an account on GitHub.
github.com
위 원본 Dockerfile에 대하여 로컬에서 마운트하여 사용할 것이라 일부 코드를 수정하여 이미지를 설치하겠다.
(2021-10-18 기준)
만약 RTX 20xx 및 30xx 시리즈를 사용한다면 아래를 사용하지 말고 더 밑으로 내려가
Dockerfile을 다시 수정하는 곳으로 넘어가서 실행하면 됨
원래 제공하는 Dockerfile은 CUDA 버전도 낮으며, GTX 10xx 계열에 맞게 설정되어 있어 수정이 필요함.
ARG PYTORCH="1.6.0"
ARG CUDA="10.1"
ARG CUDNN="7"

FROM pytorch/pytorch:${PYTORCH}-cuda${CUDA}-cudnn${CUDNN}-devel

ENV TORCH_CUDA_ARCH_LIST="6.0 6.1 7.0+PTX"
ENV TORCH_NVCC_FLAGS="-Xfatbin -compress-all"
ENV CMAKE_PREFIX_PATH="$(dirname $(which conda))/../"

RUN apt-get update && apt-get install -y ffmpeg libsm6 libxext6 git ninja-build libglib2.0-0 libsm6 libxrender-dev libxext6 \
    && apt-get clean \
    && rm -rf /var/lib/apt/lists/*

# Install MMCV
RUN pip install mmcv-full==1.3.14 -f https://download.openmmlab.com/mmcv/dist/cu101/torch1.6.0/index.html

# Install MMDetection
RUN conda clean --all
WORKDIR /workspace
ENV FORCE_CUDA="1"
Docker 디렉토리 접근 후 아래 명령어로 도커 빌드 실행
docker build -t mmdetection .원래의 컨테이너 실행 명령어가 있지만 로컬에서 수행하기 위해 아래로 수정하여 컨테이너를 실행하였다.
docker run --rm -it --ipc=host --net=host --gpus all --shm-size=8gb -v $(pwd):/workspace mmdetection수행하면 아래와 같이 workspace에 깃헙에서 clone한 파일들이 있으며
이것이 확인되면 기존에 Dockerfile에서 수정하여 제거된 아래의 코드를 실행한다.

pip install -r requirements/build.txt
pip install --no-cache-dir -e .
데모 실행
https://github.com/open-mmlab/mmdetection/tree/master/demo
GitHub - open-mmlab/mmdetection: OpenMMLab Detection Toolbox and Benchmark
OpenMMLab Detection Toolbox and Benchmark. Contribute to open-mmlab/mmdetection development by creating an account on GitHub.
github.com
위 링크에 보면 데모를 실행하는 파일들이 몇개 있다.
이걸 테스트 해보자
실행 중인 컨테이터가 변경되었으니 커밋으로 저장을 해주고
docker commit -m [NAMES] [IMAGE:TAG]컨테이너를를 종료 시킨다음 pycharm을 마운트하여 pycharm 환경에서 코드를 본다.
docker run --rm -it --ipc=host --net=host --gpus all --shm-size=8gb -v $(pwd):/workspace -v ~/Desktop/pycharm-2021.2:/pycharm mmdetection
보면 위와 같이 Unable to detect graphics environment가 뜬다..
이때 host 서버에서 아래를 실행하고
xhost +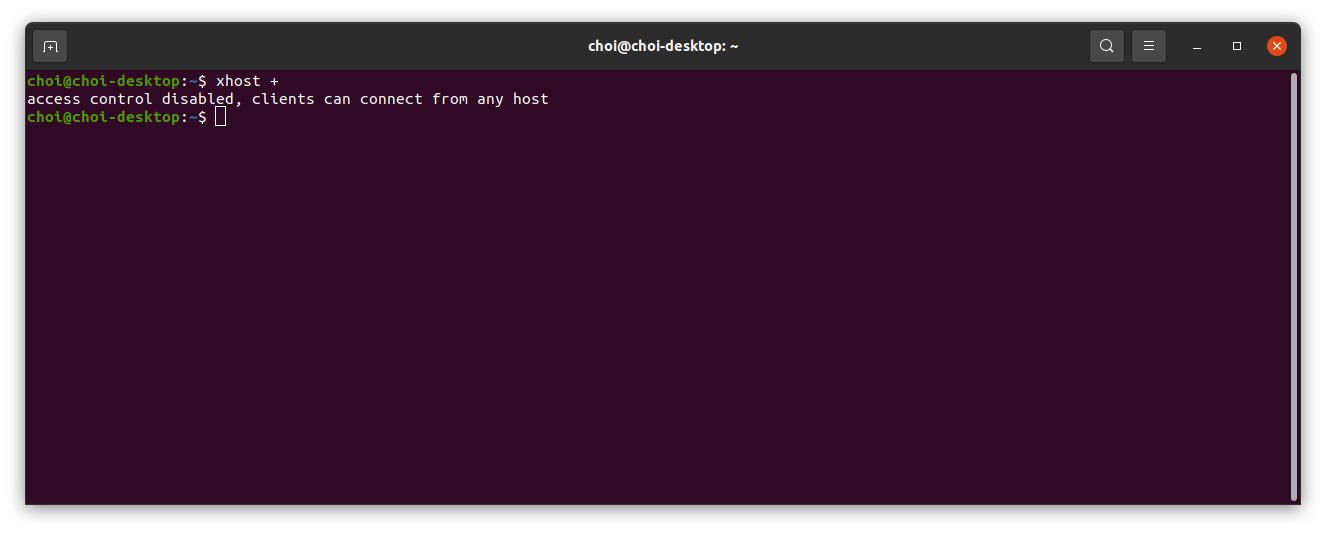
아래와 같이 도커 컨테이너 안에서 아래 명령어를 수행한다.
apt-get install -y ubuntu-desktop xorg xrdp xserver-xorg mesa-utils xauth gdm3다음 컨테이너 안에서 DISPLAY 설정을 하고
(나의 경우 1을 넣었을 때 작동이 잘됨 - 보통 0 아니면 1 넣는듯)
export DISPLAY=:1그 후 마운트된 파이참 폴더(/pycharm/bin/)에 가서 아래 명령어를 수행하면 정상적으로 pycharm이 실행됨을 볼 수 있다.
bash pycharm.sh

Inference Demo
https://github.com/open-mmlab/mmdetection/blob/master/demo/image_demo.py
GitHub - open-mmlab/mmdetection: OpenMMLab Detection Toolbox and Benchmark
OpenMMLab Detection Toolbox and Benchmark. Contribute to open-mmlab/mmdetection development by creating an account on GitHub.
github.com
아래 명령어를 사용해 실행 중인 컨테이너에 접근해 터미널에서 demo를 실행해본다
docker exec -it [containerID] /bin/bash보니까 위 image_demo는 argument를 넣어줘야 해서 나중에 하고 변경하여 실행하고 있는 pycharm에서 inference_demo.ipynb를 실행
Pycharm 인터프리터 설정을 위해 which python으로 파이썬 인터프리터를 찾아 넣어주고

아래를 보면 잘 들어 간 것을 확인할 수 있다.

코드에 나와있는 바와 같이 제대로 들어간 것을 볼 수 있다.
도중에 문제가 생겨 그냥 jupyter notebook으로 데모를 돌린다.

그런데 위와 같은 warning이 뜬다. Pytorch 버전과 GPU에 맞는 CUDA 버전이 달라서 그런 거 같다.
다시 확인해보자
https://docs.nvidia.com/cuda/cuda-compiler-driver-nvcc/index.html
NVCC :: CUDA Toolkit Documentation
The compilation trajectory involves several splitting, compilation, preprocessing, and merging steps for each CUDA source file. It is the purpose of nvcc, the CUDA compiler driver, to hide the intricate details of CUDA compilation from developers. It accep
docs.nvidia.com
위 사이트에 가보면 아래와 같이

GPU architecture에 대한 내용이 나온다.
나는 RTX 3060을 쓰기 때문에 Ampere 구조이기 때문에 현재 CUDA capability는 sm_86과 같다.
이는 도커 빌드 당시 설치된 pytorch 버전은 예전 GPU architecture와 호환되지만 상대적으로 최근에 나온 호환되지 않으며,
새로운 버전으로 업데이트 해줘야 한다.
이를 위해 Dockerfile을 다시 설정한다.
Dockerfile 수정(RTX 3060 기준 - 2021-10-18)
https://developer.nvidia.com/cuda-gpus
CUDA GPUs
Your GPU Compute Capability Are you looking for the compute capability for your GPU, then check the tables below. NVIDIA GPUs power millions of desktops, notebooks, workstations and supercomputers around the world, accelerating computationally-intensive ta
developer.nvidia.com
위 링크에 들어가보면 GPU에 맞는 Compute Capability가 나와있다.

나는 3060을 사용하기 때문에 Compute Capability는 8.6이 된다.
따라서 Dockerfile에 있던 ENV TORCH_CUDA_ARCH_LIST="6.0 6.1 7.0+PTX"를 8.6으로 바꿔준다.
ENV TORCH_CUDA_ARCH_LIST="6.0 6.1 7.0+PTX"
아래와 같이 변경
ENV TORCH_CUDA_ARCH_LIST="8.6"
추가로 PYTORCH, CUDA, CUDNN인자도 아래 사이트를 참고해 입력한다.
https://hub.docker.com/r/pytorch/pytorch/tags
Docker Hub
hub.docker.com
나는 1.9.0에 11.1, 8로 설정하였다.
mmcv를 버전에 맞게 설치하도록 아래와 같이 수정한다.
RUN pip install mmcv-full==1.3.14 -f https://download.openmmlab.com/mmcv/dist/cu101/torch1.6.0/index.html

변경
RUN pip install mmcv-full==1.3.14 -f https://download.openmmlab.com/mmcv/dist/cu111/torch1.9.0/index.html
최종 수정한 Dockerfile은 아래와 같다.
ARG PYTORCH="1.9.0"
ARG CUDA="11.1"
ARG CUDNN="8"

FROM pytorch/pytorch:${PYTORCH}-cuda${CUDA}-cudnn${CUDNN}-devel

ENV TORCH_CUDA_ARCH_LIST="8.6"
ENV TORCH_NVCC_FLAGS="-Xfatbin -compress-all"
ENV CMAKE_PREFIX_PATH="$(dirname $(which conda))/../"

RUN apt-get update && apt-get install -y ffmpeg libsm6 libxext6 git ninja-build libglib2.0-0 libsm6 libxrender-dev libxext6 \
    && apt-get clean \
    && rm -rf /var/lib/apt/lists/*

# Install MMCV
RUN pip install mmcv-full==1.3.14 -f https://download.openmmlab.com/mmcv/dist/cu111/torch1.9.0/index.html

# Install MMDetection
RUN conda clean --all
WORKDIR /workspace
ENV FORCE_CUDA="1"
기존에 설치되어 있던 mmdetection 이미지를 지우고 다시 빌드 한다.
설치가 완료되면 아까와 같이 도커를 실행시켜 build.txt 및 setup 해주고 주피터로 데모를 다시 돌려보자
docker run --rm -it --ipc=host --net=host --gpus all --shm-size=8gb -v $(pwd):/workspace -v ~/Desktop/pycharm-2021.2:/pycharm mmdetection
pip install -r requirements/build.txt
pip install --no-cache-dir -e .
root로 실행시키기 때문에 아래와 같이 --allow-root를 넣어준다.
jupyter notebook --allow-root그리고 원래했던 대로 진행을 하면 아래와 같이 결과가 잘 나오는 것을 알 수 있다.

Image demo
python demo/image_demo.py demo/demo.jpg configs/faster_rcnn/faster_rcnn_r50_fpn_1x_coco.py checkpoints/faster_rcnn_r50_fpn_1x_coco_20200130-047c8118.pth --device cuda:0
'딥러닝관련 > Detection' 카테고리의 다른 글
| MMCV 의 Registry (0) | 2021.10.26 |
|---|---|
| MMCV 의 Config (0) | 2021.10.26 |
| Detectron2 (1) 환경 세팅 및 데모 (0) | 2021.09.29 |
| Fast R-CNN 정리 (0) | 2021.06.28 |
| Bounding box regression (0) | 2021.06.28 |


